Key Takeaways
- Creating a DIY backrest pillow is a cost-effective way to enhance comfort and support while sitting.
- Choosing the right materials ensures durability, comfort, and aesthetic appeal.
- Step-by-step guidance on making a backrest pillow cover allows customization to fit any decor.
- Proper stuffing and stitching techniques improve longevity and comfort.
- A well-made backrest pillow can improve posture and reduce strain on the back.
Backrest pillows are perfect for providing support while reading, watching TV, or working in bed. Instead of purchasing one, why not make your own?
A DIY backrest pillow is not only customizable but also budget-friendly. This guide will walk you through how to make a backrest pillow, including crafting the perfect cover to match your home decor.
How to Make a Backrest Pillow
Materials Needed:
-
Fabric of your choice (cotton, fleece, or upholstery fabric)
-
Foam or polyester fiberfill for stuffing
-
Sewing machine or needle and thread
-
Scissors and fabric chalk
-
Measuring tape
-
Pins or fabric clips
-
Zipper or Velcro (optional for removable covers)
Step-by-Step Instructions:
1. Measure and Cut Fabric
-
Decide on the size of your backrest pillow. A standard measurement is about 24 x 18 inches with armrests extending 10-12 inches on each side.
-
Use fabric chalk and measuring tape to mark and cut out two identical fabric pieces for the main body.
-
Cut two smaller rectangles for the armrests.
2. Sew the Pillow Shape
-
Align the fabric pieces with the right sides facing each other.
-
Pin the edges and sew along three sides, leaving one side open for stuffing.
-
For armrests, sew along the sides and attach them to the main body before stuffing.
3. Stuff the Pillow
-
Fill the pillow with foam or polyester fiberfill to your desired firmness.
-
Distribute the stuffing evenly, ensuring both the backrest and armrests maintain a comfortable shape.
4. Close the Pillow
-
Fold the edges of the open side inward and stitch it closed using a hidden stitch.
-
If using a zipper or Velcro, attach it before stuffing for easy removal and cleaning.
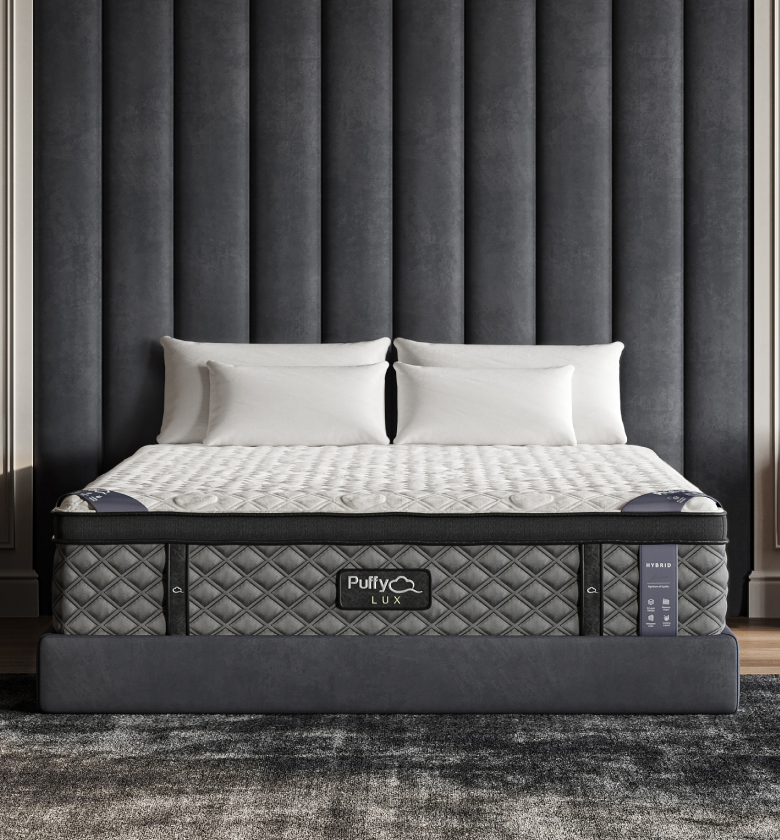
Pairing your DIY backrest pillow with a Puffy Lux Mattress enhances relaxation, offering plush support that contours to your body.
How to Make a Backrest Pillow Cover
If you want a removable and washable cover, follow these steps:
Materials Needed:
-
Fabric for the cover (cotton, microfiber, or fleece)
-
Sewing machine and thread
-
Zipper, buttons, or Velcro
Step-by-Step Instructions:
1. Cut the Cover Fabric
-
Use the dimensions of your backrest pillow to cut two identical fabric pieces.
-
Leave an extra 1-inch seam allowance on all sides.
2. Attach the Closure
- Sew the zipper or attach Velcro along one of the longer edges to allow for easy removal.
3. Sew the Cover
-
Place the fabric pieces right sides together and sew along the edges, leaving an opening for the zipper or Velcro.
-
Flip the cover right side out and insert the pillow.
Adding a backrest pillow to a Puffy Royal Mattress setup ensures a luxurious, well-supported sleep experience.
Additional Customization Ideas
-
Use patterned fabric for a stylish touch.
-
Add embroidery, appliques, or monograms for a personal touch.
-
Sew a pocket on the side to store small items like a phone, remote control, or reading glasses.
-
Create a travel-sized version for portable comfort when you’re on the go.
-
Incorporate memory foam pieces for added lumbar support and pressure relief.
Conclusion
A DIY backrest pillow is a fantastic way to enhance comfort while sitting or lounging. Whether you need extra support for reading in bed or watching TV, crafting your own pillow allows for full customization.
By selecting the right materials and using simple sewing techniques, you can create a functional and stylish addition to your home. Happy crafting!

- 8 layers of cloudlike luxury.
- Medium-plush feel.
- Gel-infused cooling.
- 101-night sleep trial.


