Creating a DIY headboard for your platform bed is an exciting and rewarding project that adds a personal touch to your bedroom. With the right materials and some creativity, you can design a headboard that perfectly suits your style and needs. Here’s how you can make your own headboard step by step.
How to Make a Headboard for a Platform Bed
Materials Needed:
- Plywood or MDF board
- Foam padding
- Upholstery fabric
- Staple gun
- Screws or brackets
- Measuring tape
- Scissors
- Drill
Step-by-Step Instructions:
-
Measure and Cut the Plywood
- Measure the width of your bed and decide on the height of your headboard.
- Cut the plywood or MDF board to these dimensions.
-
Attach the Foam Padding
- Lay the foam padding over the plywood.
- Trim any excess foam and use spray adhesive to secure it in place.
-
Upholster the Headboard
- Lay the upholstery fabric over the foam-covered plywood.
- Pull the fabric tight and staple it to the back of the board.
-
Attach the Headboard to the Bed
- Use screws or brackets to secure the headboard to your platform bed frame.
- Ensure it is level and securely attached.
Pair your new headboard with a Puffy Lux Mattress for an incredibly comfortable sleep experience. The Puffy Lux Mattress offers exceptional support and comfort, making it the perfect complement to your stylish DIY headboard.
Different Types of DIY Headboards for Platform Beds
Upholstered Headboards
Upholstered headboards are a popular choice for their comfort and style. You can use a variety of fabrics to match your bedroom décor, and they provide a soft surface to lean against.
Creating an Upholstered Headboard:
- Choose Your Fabric: Select a fabric that complements your room’s color scheme.
- Add Tufting (Optional): For a sophisticated look, add buttons to create a tufted effect.
- Finish the Edges: Ensure the fabric is neatly folded and stapled at the back for a clean finish.
Wooden Headboards
Wooden headboards add a rustic and natural touch to your bedroom. They can be as simple or as intricate as you like, depending on your woodworking skills.
Creating a Wooden Headboard:
- Select Your Wood: Choose a type of wood that fits your design aesthetic.
- Cut and Sand the Wood: Measure and cut the wood to the desired size. Sand the edges to smooth any rough spots.
- Assemble the Headboard: Use screws and wood glue to assemble the pieces into a headboard. You can create patterns or designs with the wood for added interest.
Reclaimed Material Headboards
Using reclaimed materials for your headboard is an eco-friendly and unique way to add character to your bedroom. Old doors, shutters, or pallets can be repurposed into beautiful headboards.
Creating a Reclaimed Material Headboard:
- Source Your Materials: Find reclaimed materials that you love. Clean and sand them to remove any old paint or rough spots.
- Arrange and Attach: Arrange the pieces in a way that looks pleasing to you. Secure them together using screws or brackets.
- Finish with a Sealant: Apply a sealant to protect the wood and give it a polished look.
Personalizing Your DIY Headboard
Personalize your headboard to reflect your unique style. Here are some ideas:
- Paint or Stain: Add a coat of paint or stain to match your room’s color scheme.
- Add Decorative Trim: Use trim or molding to create a framed look.
- Incorporate Lighting: Add built-in lights for a functional and stylish touch.
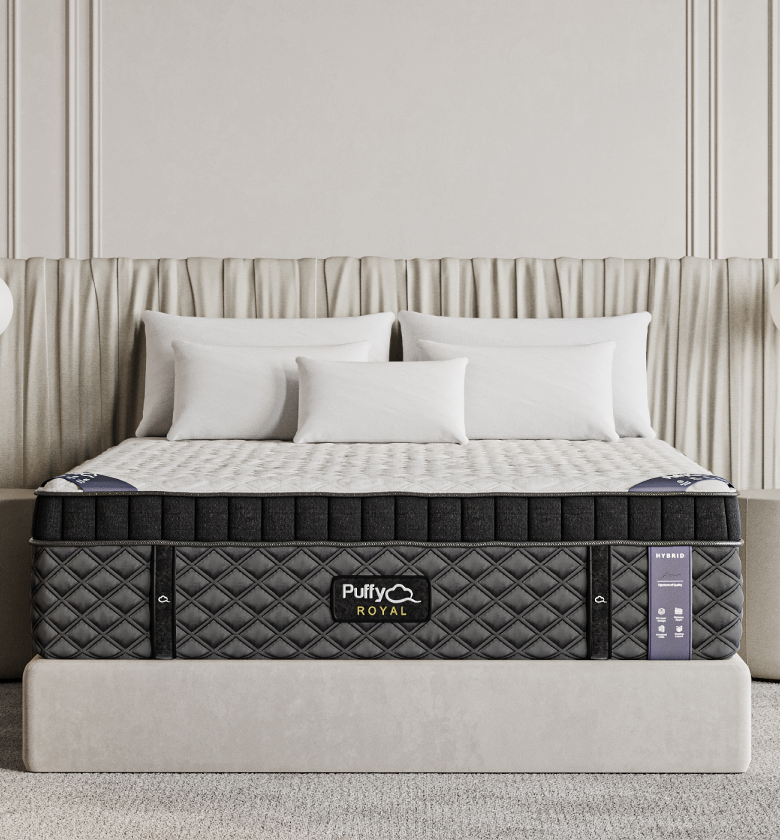
For the best sleep setup, pair your personalized headboard with a Puffy Royal Mattress. This luxurious mattress complements any headboard style and provides unparalleled comfort for a restful sleep experience.
Adding Functional Elements to Your Headboard
Headboards can be more than just decorative; they can also add functionality to your bedroom. Consider these ideas to make your headboard both stylish and practical:
Built-in Shelves
Steps to Add Built-in Shelves:
- Plan the Layout: Decide where you want the shelves to be located on your headboard.
- Cut Out the Sections: Use a jigsaw to cut out the sections of the headboard where the shelves will be installed.
- Assemble the Shelves: Cut and assemble the shelves using wood or MDF. Secure them to the headboard with screws and wood glue.
- Finish the Shelves: Paint or stain the shelves to match the rest of the headboard.
Integrated Lighting
Steps to Add Integrated Lighting:
- Choose Your Lighting: Select LED strip lights, sconces, or reading lights that suit your needs.
- Install the Wiring: Run the wiring through the headboard, making sure it is hidden and secure.
- Mount the Lights: Attach the lights to the headboard. Ensure they are positioned where they will be most useful.
- Test the Lights: Make sure all connections are secure and the lights function correctly.
Tips for a Professional Finish
To ensure your DIY headboard looks professionally made, follow these tips:
- Take Accurate Measurements: Measure twice, cut once to ensure all pieces fit perfectly.
- Use High-Quality Materials: Invest in good quality wood, fabric, and hardware for a durable and stylish headboard.
- Pay Attention to Details: Take your time with finishing touches like sanding edges and neatly folding fabric.
Conclusion
Creating a DIY headboard for your platform bed is a fun and rewarding project that allows you to express your creativity and enhance your bedroom’s aesthetic.
With the right materials and some careful planning, you can design a headboard that perfectly suits your style and needs. Remember, the key to a good night’s sleep is not just in the headboard but also in a comfortable mattress.

- 10 layers of cloudlike comfort.
- Ultra-plush feel.
- Targeted support zones.
- 101-night sleep trial.


