Key Takeaways
- Making a pillow cushion at home is simple, budget-friendly, and allows for full customization.
- Choose the right fabric and filling to ensure comfort, durability, and a perfect aesthetic match for your space.
- Basic sewing skills are enough to create a stylish and functional pillow cushion.
- Different cushion styles such as tufted, piped, or envelope closures can add a decorative touch.
- Proper care and maintenance will help extend the life of your DIY pillow cushions.
Creating your own pillow cushion is a rewarding DIY project that adds a personal touch to your home decor.
Whether you’re making cushions for the living room, bedroom, or even outdoor spaces, learning how to sew a pillow cushion lets you control the size, fabric, and softness to match your needs.
With just a few materials and some creativity, you can design custom cushions that enhance your home’s comfort and style.
DIY Pillow Cushion: Getting Started
Before diving into the steps, it’s important to gather the necessary materials and choose a design that complements your space.
Materials Needed
-
Fabric of your choice (cotton, linen, velvet, or outdoor fabric for patio cushions)
-
Pillow stuffing or foam insert
-
Sewing machine (or needle and thread for hand-sewing)
-
Fabric scissors
-
Measuring tape
-
Pins or fabric clips
-
Zipper, buttons, or Velcro (optional for closures)
-
Iron and ironing board
-
Fabric chalk or marker for marking measurements
Choosing the Right Fabric and Filling
-
For soft and plush cushions: Opt for cotton or velvet with polyester or down filling.
-
For firm and structured cushions: Use upholstery fabric with high-density foam.
-
For outdoor cushions: Choose weather-resistant fabric like Sunbrella and use mildew-resistant filling.
How to Make a Pillow Cushion: Step-by-Step Guide
Follow these steps to create a custom pillow cushion that fits your decor perfectly.
Step 1: Measure and Cut Fabric
-
Determine the cushion size based on your needs and the space it will occupy.
-
Add seam allowance (typically ½ inch on all sides) to ensure proper fitting after sewing.
-
Use fabric chalk or a fabric marker to draw cutting lines accurately before cutting the fabric.
-
Cut out the fabric pieces carefully, ensuring the edges are even and smooth.
Step 2: Sew the Pillow Cushion
-
Place the fabric pieces right sides together to align the edges and pin them securely in place.
-
Sew along three edges, using a straight stitch and leaving one side open for inserting the filling or cushion insert.
-
If adding a zipper, buttons, or Velcro closure, sew them in before stitching the final side to ensure a seamless look.
-
Trim excess fabric and clip the corners to reduce bulk and allow for crisp edges when turned right-side out.
Step 3: Insert Filling and Close the Cushion
-
Turn the fabric right-side out and use a blunt object like a chopstick to push out the corners for a clean, defined shape.
-
Insert your chosen filling – whether loose stuffing, shredded memory foam, or a pre-cut foam insert for better structure.
-
Distribute the filling evenly by gently fluffing and adjusting before sealing the opening.
-
Sew the opening shut using a slip stitch for a nearly invisible closure or a top stitch for a decorative finish.
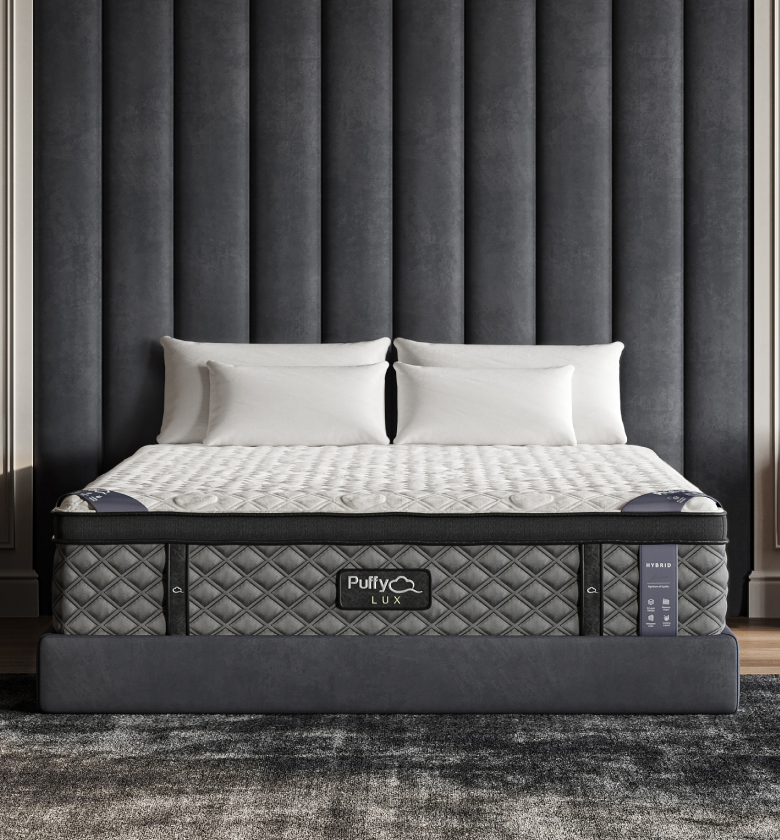
Pairing your DIY pillow cushions with a Puffy Lux Mattress enhances your relaxation space, offering cloud-like comfort while keeping your decor stylish and cozy.
Adding Decorative Elements to Your Pillow Cushion
How to Make a Piped Cushion
Adding piping creates a professional and elegant finish. To make a piped pillow cushion:
-
Cut fabric strips for piping and sew them around the cushion edges for a defined look.
-
Attach the piping between fabric layers before sewing the edges together to maintain a neat seam.
-
Choose contrasting or matching piping to create a bold statement or a seamless, sophisticated design.
How to Make a Tufted Cushion
Tufted cushions add a luxurious touch and keep the filling evenly distributed:
-
Use fabric-covered buttons to create tufted indentations for a sophisticated appearance.
-
Sew through the cushion with strong thread to secure the tufts and prevent shifting of the stuffing.
-
Space the tufts evenly for a symmetrical and well-balanced design, enhancing both comfort and aesthetics.
How to Make an Envelope Pillow Cover
For easy removable covers, an envelope-style back is a great option:
-
Cut two back fabric pieces that overlap in the middle to create a flap.
-
Hem the edges and sew them onto the front fabric to complete the envelope closure without the need for zippers.
-
Use decorative buttons or ties for an added stylish detail while keeping the cover secure.
Caring for Your DIY Pillow Cushion
To keep your handmade cushions looking fresh and comfortable, follow these maintenance tips:
-
Fluff cushions daily to maintain their shape and prevent lumps.
-
Spot-clean stains immediately using a mild detergent and damp cloth to avoid deep-set marks.
-
Use removable, washable covers for easy maintenance and longevity.
-
Rotate cushions regularly to ensure even wear and prevent flattening in high-use areas.
Pairing a custom pillow cushion with a Puffy Cloud Mattress enhances the overall sleep and relaxation experience, creating a stylish and comfortable bedroom retreat.
Conclusion
Making a pillow cushion at home is a fun and fulfilling DIY project that allows for creativity and customization.
Whether you prefer a simple design or a decorative style with piping and tufting, the process is straightforward and rewarding.
With proper care and thoughtful material selection, your handmade cushions will remain stylish, comfortable, and functional for years to come.

- 8 layers of cloudlike luxury.
- Medium-plush feel.
- Gel-infused cooling.
- 101-night sleep trial.


