Key Takeaways
- A memory shirt pillow with a collar is a creative way to repurpose sentimental clothing into a comforting keepsake.
- Making a memory pillow can be done using sewing or no-sew techniques, offering options for all skill levels.
- Simple materials like shirts, pillow inserts, and adhesives or sewing supplies are all you need to create a meaningful project.
Creating a memory shirt pillow with a collar is a beautiful way to preserve cherished clothing and turn it into something comforting and functional.
Whether you enjoy sewing or prefer a quick no-sew method, this guide walks you through the steps to create your own keepsake pillow.
How to Make a Memory Shirt Pillow with a Collar
Turning a shirt into a memory pillow with a collar is a straightforward project that requires basic sewing skills. Here’s how to do it:
Materials You’ll Need
- A button-up shirt with a collar
- Pillow insert (size depending on the shirt)
- Scissors
- Sewing machine or needle and thread
- Pins
Step-by-Step Instructions
-
Prepare the Shirt
Lay the shirt flat and button it up. Smooth out wrinkles and align the fabric evenly. -
Cut the Fabric
Place the pillow insert on the shirt, mark the dimensions, and cut the shirt, leaving about an inch for seam allowance. -
Pin the Pieces
Pin the front and back of the shirt together, ensuring the collar and button line are aligned. -
Sew the Edges
Sew around the edges, leaving a small opening for the pillow insert. For a polished finish, reinforce the seams at the corners. -
Insert the Pillow
Turn the shirt inside out, insert the pillow, and sew the opening closed.
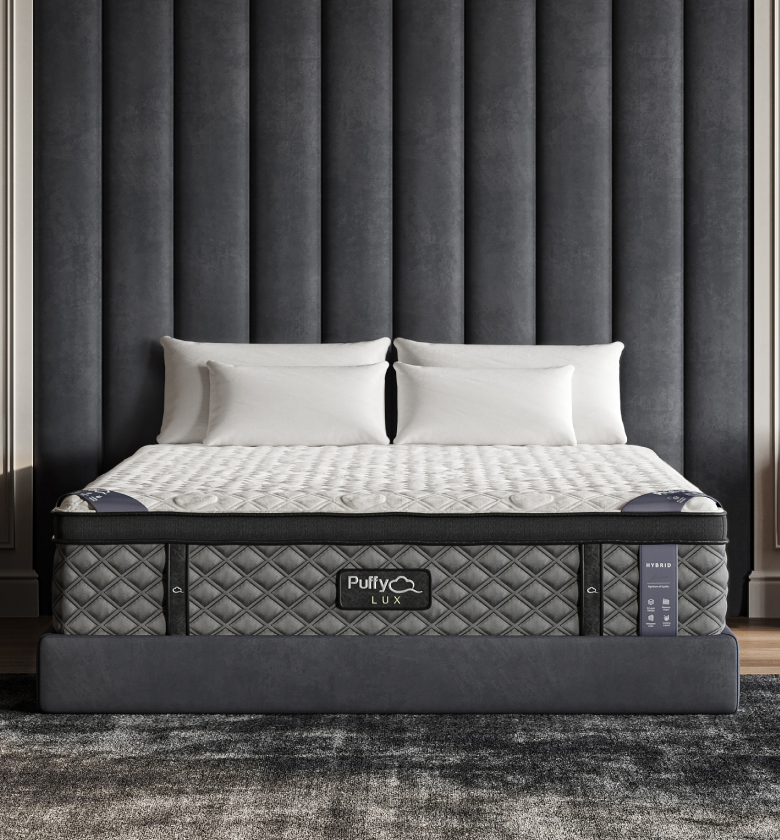
Pairing a sentimental memory pillow with a Puffy Lux Mattress adds a cozy, emotional touch to your sleep environment, making your space uniquely yours.
How to Make a Memory Pillow from a Shirt Without Sewing
If sewing isn’t your thing, a no-sew method is an excellent option. This approach is quick, simple, and accessible for beginners.
Materials You’ll Need
- Button-up shirt with a collar
- Pillow insert
- Fabric glue or iron-on adhesive
Step-by-Step Instructions
-
Prepare the Shirt
Lay the shirt flat, button it up, and ensure it’s wrinkle-free. -
Cut the Fabric
Measure the pillow insert, leaving a small margin around the edges, and cut the shirt accordingly. -
Secure the Edges
Use fabric glue or iron-on adhesive to seal the edges of the shirt. Leave a small opening for the pillow insert. -
Insert the Pillow
Once the adhesive has dried, insert the pillow and close the remaining edge with glue or adhesive.
This no-sew method is perfect for creating a memory pillow quickly and easily, without needing any special skills.
Comparing Sewing vs No-Sew Methods
| Feature | Sewing Method | No-Sew Method |
|---|---|---|
| Skill Level | Requires basic sewing skills | Beginner-friendly |
| Durability | Strong, long-lasting seams | Moderate, depends on adhesive |
| Customization | Highly customizable | Limited customization |
| Time Required | Takes longer but is precise | Quick and easy |
Creative Ideas for Personalizing Your Memory Pillow
-
Add Embroidery
Stitch initials, a name, or a special date to make the pillow even more meaningful. Consider using contrasting thread colors to make the embroidery stand out, or opt for metallic threads for a touch of elegance. You could also include meaningful symbols, such as hearts, stars, or floral patterns, to enhance the sentimental value. -
Use Multiple Shirts
Combine fabrics from different shirts for a patchwork effect. This is a wonderful way to incorporate clothing from multiple family members, creating a pillow that tells a story. Choose fabrics with complementary colors or patterns for a cohesive design, or embrace a more eclectic, mismatched look for added charm. -
Incorporate Pockets
Keep the original shirt pocket functional as a place to store small keepsakes or notes. You can even personalize the pocket with embroidery or small patches that reflect the personality or interests of the person associated with the shirt. The pocket could also hold sentimental items, such as handwritten notes or a small photograph, adding a special touch. -
Decorate with Ribbons or Lace
Add trim or decorative elements to enhance the pillow’s aesthetic. Ribbons can be tied into bows or sewn along the edges for a playful look, while lace can be used to create a vintage or elegant style. You might also consider adding small buttons or beads for additional detail, turning your memory pillow into a truly unique keepsake.
Tips for Caring for a Memory Shirt Pillow
- Washing: Hand wash or use a delicate cycle with mild detergent to protect the fabric and seams. Avoid harsh chemicals or bleach, as they can weaken the fibers and affect the pillow’s appearance.
- Drying: Air dry the pillow cover to avoid shrinking or damaging the fabric. Lay it flat on a clean surface to retain its shape or use a drying rack for better airflow.
- Storage: Store the pillow in a dry, cool place to preserve its quality and sentimental value. To prevent dust accumulation, consider storing it in a breathable fabric bag rather than plastic, which can trap moisture and cause mildew. For long-term storage, add silica gel packets to keep the pillow fresh.
Pairing your memory pillow with a Puffy Royal Mattress enhances comfort and creates a meaningful, personalized sleep setup.
Conclusion
Learning how to make a memory shirt pillow with a collar is a rewarding way to preserve cherished memories while adding a cozy, decorative piece to your home.
Whether you sew or choose a no-sew method, these pillows are a creative outlet and a comforting reminder of special moments.

- 8 layers of cloudlike luxury.
- Medium-plush feel.
- Gel-infused cooling.
- 101-night sleep trial.


