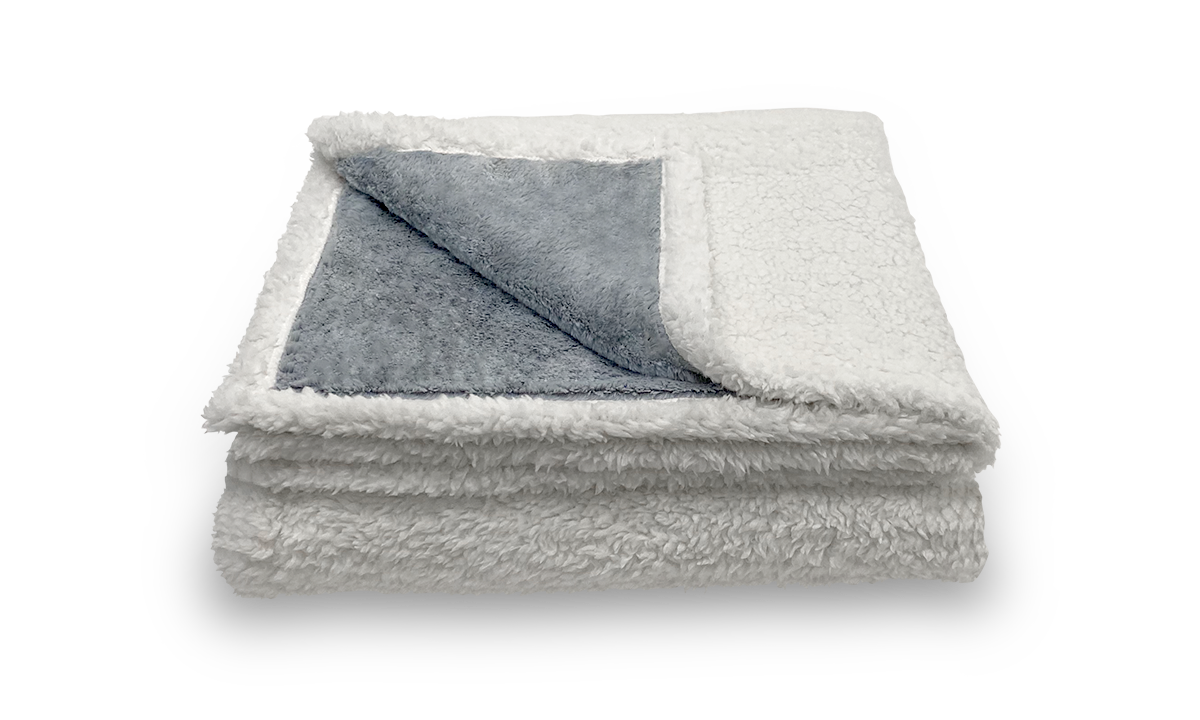
Crocheting a blanket can be a rewarding DIY project that not only allows you to create a cozy addition to your home but also offers a relaxing way to pass the time. Whether you’re new to crocheting or looking to refine your skills, this guide will walk you through everything you need to know about how to crochet a blanket from start to finish.
How Much Yarn to Crochet a Blanket?
The amount of yarn needed for a blanket depends on the blanket’s size, the yarn’s thickness, and the crochet stitch used. Here’s a quick guide:
- Baby Blanket: 1,000–1,500 yards
- Throw Blanket: 2,000–3,000 yards
- Large Blanket: 3,500–5,000 yards
How to Start a Crochet Blanket
Starting a crochet blanket is an exciting first step in creating a cozy, handmade item for your home or as a gift. Here’s a guide on how to begin your crochet project:
Materials Needed
- Yarn: Choose a yarn type that fits the desired texture and warmth of your blanket. For beginners, acrylic or cotton yarns are forgiving and easy to handle.
- Crochet Hook: The size of the hook should correspond with your yarn’s weight; a larger hook will make larger, looser stitches, while a smaller hook will make tighter, finer stitches.
- Scissors: For cutting yarn when switching colors or finishing off.
- Yarn Needle: For weaving in ends securely.
Steps to Start Your Blanket
- Choose Your Pattern and Yarn: Decide on the pattern you want to follow and select a yarn that complements this design. Consider the color, texture, and washability of the yarn.
- Create a Slip Knot: Loop the yarn around your fingers to make a pretzel shape, then pull one loop through the other to create your first slip knot.
- Make the Foundation Chain: The foundation chain is the base of your blanket. To create a chain, yarn over (wrap the yarn over your hook) and pull it through the loop. Repeat this step until you have a chain of the desired length.
- First Row: Depending on your chosen pattern, you’ll start your first row using a specific stitch. Insert your hook into a chain, yarn over, and pull through to start forming stitches.
How to Crochet a Blanket
Once your foundation chain and first row are set up, you’ll continue building your blanket with the following detailed steps:
Basic Crochet Stitches
- Single Crochet (SC): Insert the hook into the stitch, yarn over, pull through, yarn over again, and pull through both loops on the hook.
- Double Crochet (DC): Yarn over, insert the hook into the stitch, yarn over, pull through, yarn over, pull through two loops, yarn over again, and pull through the remaining two loops.
Crocheting the Blanket
- Establish a Rhythm: Continue to crochet in your chosen stitch pattern. Common patterns for blankets include rows of SC or DC, or more complex designs like chevron or granny squares.
- Changing Colors: If your pattern calls for color changes, cut the yarn leaving a six-inch tail. Attach the new color and continue crocheting as before. Secure all tails with your yarn needle at the end.
- Maintaining Even Edges: Make sure to count your stitches as you work to keep your edges even. This consistency is crucial for a professional-looking finish.
Puffy mattresses, known for their comfort and support, pair beautifully with homemade crochet blankets for an added layer of warmth and style. The handcrafted touch of a crochet blanket complements the luxurious feel of the mattress, enhancing the cozy ambiance of any bedroom.
Interested in how Puffy stacks up against other brands? Check out our mattress comparisons: Puffy vs Purple, Puffy vs Nectar, Puffy vs Casper, Puffy vs Leesa, Puffy vs Saatva, Puffy vs DreamCloud, and Puffy vs Tuft and Needle.
How to End a Crochet Blanket
Finishing your crochet blanket properly ensures it looks polished and remains durable over time.
Binding Off and Weaving in Ends
- Binding Off: Once you’ve completed your final row, cut the yarn, leaving a six-inch tail. Yarn over and pull the tail through the last loop on your hook to secure it.
- Weave in Ends: Use a yarn needle to weave the tails back through your stitches. This will hide the yarn ends and prevent them from unraveling.
Adding a Border
- Optional Border: For a clean finish, consider adding a border around your blanket. Use a simple SC border or choose a more decorative edge like a picot or shell stitch.
- Securing the Border: Ensure that the border is evenly crocheted around all edges and securely fastened at the corners to maintain the shape of the blanket.
Check out Puffy mattress reviews from real customers and see how we compare with other brands.
How Long Does It Take to Crochet a Blanket?
The time it takes to crochet a blanket can vary widely depending on the size of the blanket, the complexity of the pattern, and your skill level. Generally, a simple baby blanket might take a few hours, while a large, detailed throw could take several weeks.
I found crocheting a blanket for my daughter’s Puffy Lux Mattress to be incredibly satisfying. Not only did it provide a personal touch to her bedroom decor, but it also added an extra layer of warmth and comfort, making her mattress even more inviting.
Use our store locator to find the closest furniture or mattress store near you and feel the cloudlike comfort of our Puffy Mattress in person.
Conclusion
Crocheting a blanket is a fantastic project for both beginners and experienced crafters. By following these steps and using the right materials, you can create a beautiful, durable blanket that adds a personal touch to your home. Whether draped over a mattress or nestled on your favorite couch, a crochet blanket offers comfort and style in equal measure.

- Oeko-Tex® Standard 100 certified.
- Hypoallergenic.
- Lifetime warranty.
- 101-night sleep trial.
- Free shipping and returns.


