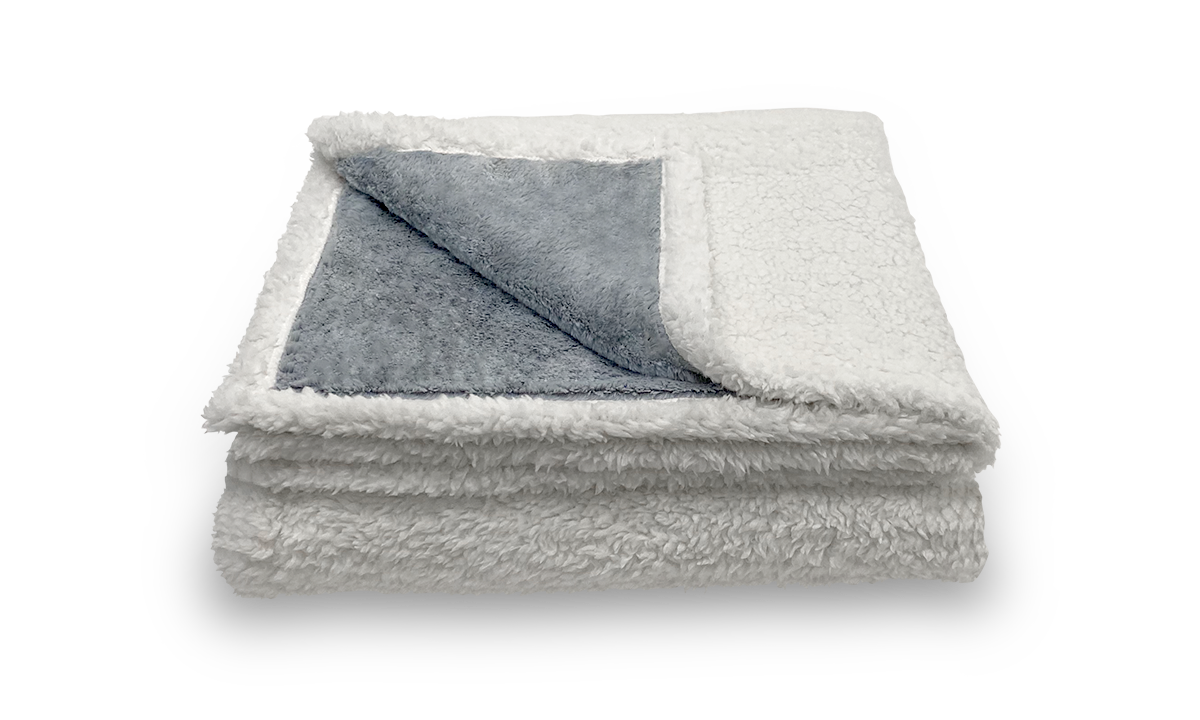
Transforming baby clothes into a beautiful, handmade blanket is a wonderful way to preserve memories of your child’s early years. This DIY project not only recycles those tiny outfits that are hard to part with but also creates a meaningful keepsake that can be cherished for years. In this guide, we’ll walk you through the steps to make a unique blanket from baby clothes.
What You Need to Make a Blanket from Baby Clothes
- Baby Clothes: Select a variety of baby clothes, preferably those made from similar fabric types.
- Scissors or Rotary Cutter: For cutting the clothes into squares.
- Ruler or Measuring Tape: To measure fabric pieces.
- Sewing Machine: Essential for stitching the pieces together.
- Thread: Matching or contrasting, depending on your design preference.
- Backing Fabric: A piece of fabric for the back of the blanket, such as fleece or cotton.
- Batting (optional): For added warmth and thickness.
Interested in how Puffy stacks up against other brands? Check out our mattress comparisons: Puffy vs Purple, Puffy vs Nectar, Puffy vs Casper, Puffy vs Leesa, Puffy vs Saatva, Puffy vs DreamCloud, and Puffy vs Tuft and Needle.
How to Make a Memory Blanket from Baby Clothes
Creating a memory blanket from baby clothes is a heartfelt way to preserve your child’s early memories. This project not only upcycles those tiny, adorable outfits but also turns them into a cherished keepsake. Here’s a detailed step-by-step process:
Materials Needed
- Baby Clothes: Gather various baby garments like onesies, pajamas, and T-shirts.
- Backing Fabric: Choose a soft fabric like flannel or fleece for the blanket’s back.
- Interfacing: Optional, to stabilize stretchy fabrics.
- Cutting Tools: Scissors or a rotary cutter.
- Ruler or Measuring Tape: To ensure uniform square sizes.
- Sewing Machine: Essential for assembling the blanket.
- Thread: Color-coordinated with your fabrics.
- Pins or Fabric Clips: To hold layers in place.
Steps to Create a Memory Blanket
-
Prepare the Clothes:
- Clean and Iron: Ensure all clothes are clean and pressed.
- Cut into Squares: Depending on the size of the clothes, cut 5x5 or 6x6 inch squares. Use a cardboard template to help with uniformity.
-
Design the Layout:
- Arrange Squares on a Flat Surface: Play with the layout until you find a visually pleasing pattern. Consider color balance and thematic elements from the clothes.
-
Sew the Squares Together:
- Sew Squares into Rows: Pin the squares right sides together in rows and sew with a straight stitch, using a ¼ inch seam allowance.
- Sew Rows Together: Once all rows are assembled, sew them together, aligning the seams carefully. Press all seams flat to reduce bulk.
-
Attach Backing and Batting (if used):
- Layer and Pin: Lay the backing fabric right side down, place batting on top (if using), then add the assembled top layer right side up.
- Quilt the Layers: Sew through all layers to secure them. This can be simple lines or more decorative stitching.
-
Finish the Blanket:
- Trim the Edges: Ensure all edges are even.
- Bind the Edges: Attach a fabric binding around the blanket’s perimeter to encase all raw edges for a clean finish.
Check out Puffy mattress reviews from real customers and see how we compare with other brands.
How to Finish Edges of Flannel Baby Blanket
Finishing the edges of a flannel baby blanket not only strengthens its structure but also adds a touch of professionalism to your handmade item. Here are a few methods:
Bias Binding
- Create or Buy Bias Tape: You can make bias tape from a fabric that contrasts or complements the blanket or use pre-made bias tape.
- Attach the Bias Tape: Fold the bias tape over the edges of the blanket, pin in place, and sew around the perimeter. Make sure to fold in the ends for a neat finish.
Serged Edges
- Use a Serger: If you have access to a serger, you can finish the edges by serging them. This method is quick and gives a durable, professional-looking edge.
- Color-Matched Thread: Choose a thread that matches or complements the blanket to enhance the look.
Decorative Edge Stitching
- Decorative Stitches: Many sewing machines offer decorative stitches. Select a stitch that suits the style of the blanket and sew a border around the edge.
- Consider Thread Color: A contrasting thread can highlight the decorative stitches and add an extra design element.
Creating a blanket from your baby’s outgrown clothes not only repurposes the garments but also offers a comforting piece reminiscent of the support a Puffy Lux Mattress provides—ensuring parents can also rest well, knowing they’ve preserved precious memories in such a unique way.
Crafting a blanket from my daughter’s baby clothes was incredibly fulfilling. It was not just about the end product but the process—revisiting those early memories with each piece of fabric. Now, this blanket is not only a staple in our home but a narrative of her first years.
Use our store locator to find the closest furniture or mattress store near you and feel the cloudlike comfort of our Puffy Mattress in person.
Conclusion
Making a blanket from baby clothes is a touching and practical way to capture the fleeting moments of childhood. This project allows parents to keep a piece of their child’s early life in a form that’s both useful and sentimental. Whether draped over the crib or showcased in the living room, this blanket will be a conversation starter and a treasured heirloom.

- Oeko-Tex® Standard 100 certified.
- Hypoallergenic.
- Lifetime warranty.
- 101-night sleep trial.
- Free shipping and returns.


