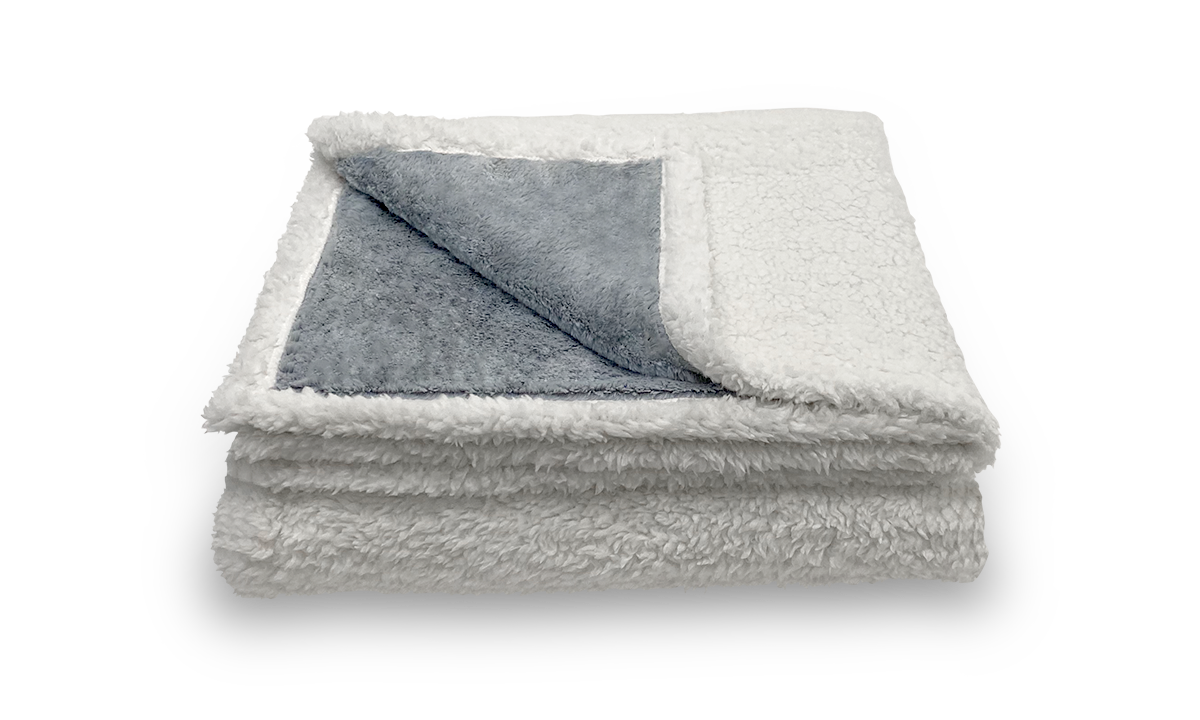
Turning a blanket into a poncho can be a fantastic way to repurpose an old favorite or make use of a thrift store find. Not only is this project cost-effective, but it also allows for a high degree of customization in terms of style, size, and function.
Whether you’re looking for a new artistic expression or just need something warm for the colder months, making a poncho from a blanket is an enjoyable and rewarding DIY endeavor.
How to Make a Poncho From a Blanket
Creating a poncho from a blanket is a simple and rewarding DIY project. Here’s a detailed guide to help you transform a basic blanket into a stylish poncho:
Materials Needed
- Blanket: A large, rectangular or square blanket. Wool, fleece, or a heavy cotton blend are ideal for warmth and ease of handling.
- Scissors: For cutting the fabric.
- Measuring Tape: To accurately measure cut lines and ensure symmetry.
- Fabric Marker: To mark cutting lines on the blanket.
- Sewing Machine or Needle and Thread: For hemming edges, optional but recommended for a clean finish.
Detailed Instructions
-
Prepare the Blanket:
- Lay the blanket flat on a large surface. Ensure there are no wrinkles or folds.
-
Fold the Blanket:
- If using a rectangular blanket, fold it vertically to create a square half its original size. For a square blanket, fold diagonally to form a large triangle.
-
Mark and Cut the Neck Opening:
- Determine the center of the folded edge (the long side of the triangle). Place a plate or a round object near this point to trace a semi-circle or oval for the head opening.
- Use a fabric marker to trace around the object, creating a clear line to cut along.
- Cut along the marked line with scissors, ensuring smooth, even cuts.
-
Hem the Edges:
- Fold the raw edges of the neck opening about half an inch to the inside of the poncho. Pin in place.
- Sew along the hem using a straight stitch or a zigzag stitch to prevent fraying and give the poncho a finished look.
-
Customize Your Poncho:
- Add decorative elements such as fringe, beads, or embroidery around the edges or along the hemline to personalize your poncho.
Creating a comfortable living space where you can relax and enjoy your DIY projects is crucial. A Puffy Lux Mattress can be the perfect complement to your cozy new poncho, providing comfort and support as you unwind after a day of crafting.
One million Americans are sleeping better with Puffy. Compare our award-winning mattress collection against other brands to learn why: Puffy vs Purple, Puffy vs Nectar, Puffy vs Casper, Puffy vs Leesa, Puffy vs Saatva, Puffy vs Dreamcloud, and Puffy vs Tuft & Needle.
How to Make a Blanket Poncho with Hood
Adding a hood to your blanket poncho can provide additional warmth and style. Here’s how you can do it:
Additional Materials
- Extra Fabric: For the hood, ideally matching or complementing the blanket’s fabric.
Step-by-Step Instructions
-
Construct the Poncho Base:
- Follow the steps from the basic poncho guide to create your poncho base.
-
Prepare the Hood Fabric:
- Cut a piece of fabric approximately 24 inches wide and 36 inches long. This will be the hood.
- Fold the fabric in half width-wise, with the right sides facing each other.
-
Sew the Hood:
- Sew along the curved edge, leaving the bottom (the fold) and the front (the short sides) open.
- Turn the hood right side out so that the seams are on the inside.
-
Attach the Hood to the Poncho:
- Align the bottom of the hood with the neck opening of the poncho. Make sure the front of the hood matches the front of the poncho.
- Pin the hood evenly around the neck opening.
- Sew around the perimeter where the hood meets the poncho, securing it in place. Use a sewing machine for a stronger hold, especially if the fabric is thick.
How to Make a Poncho Out of a Blanket Without Cutting
For those who prefer not to cut their blankets, or want a reversible option, here’s a non-destructive method:
Instructions
-
Fold the Blanket:
- Fold the blanket as directed in the basic poncho making guide.
-
Create a Neckline Without Cutting:
- Instead of cutting a hole, locate the center of the folded edge and pinch the fabric to create a small opening just large enough to fit your head through.
-
Secure the Opening:
- Use a safety pin or a decorative brooch to secure the pinched fabric. This method allows you to adjust the size of the neck opening and easily restore the blanket to its original form.
-
Style the Poncho:
- Drape the fabric stylishly around your shoulders. The pin or brooch adds a touch of elegance while holding the fabric in place.
This no-cut method is ideal for those who value simplicity and preservation of the original blanket. Just as crafting your poncho provides a tailored comfort experience, so does lying on a Puffy Lux Mattress at the end of a long day, ensuring you get the restorative rest you deserve.
Conclusion
Creating a poncho from a blanket is not only an easy and affordable way to add a unique piece to your wardrobe but also a great way to recycle materials.
Whether you choose to cut and sew or go for a no-cut option, your new poncho will be a reflection of your personal style and creativity. Pair it with your cozy home environment and enjoy the warmth and comfort it brings.

- Oeko-Tex® Standard 100 certified.
- Hypoallergenic.
- Lifetime warranty.
- 101-night sleep trial.
- Free shipping and returns.


